Guide to Product Photography
Product Photography for beginners
If you want to learn haw to shoot eCommerce product photography, you need to invest time and have passion. But in case you already need photos of your product now, I am sure, you have noticed that it is not so easy. Good beautiful product photographs can increase sales! In the other hand, bad photographs can ruin your business. So, can you do DIY “not bad” pictures? It depends, but if you really want – you can. This Guide to Product Photography for anyone who on budget and it is simple. Using this approach, you will be able to take awesome product photographs!
- Equipment
- Before taking a ptotograph
- Composition
- Light
- White Balance
- Editing & retouching
- Uploading on the Internet

Equipment
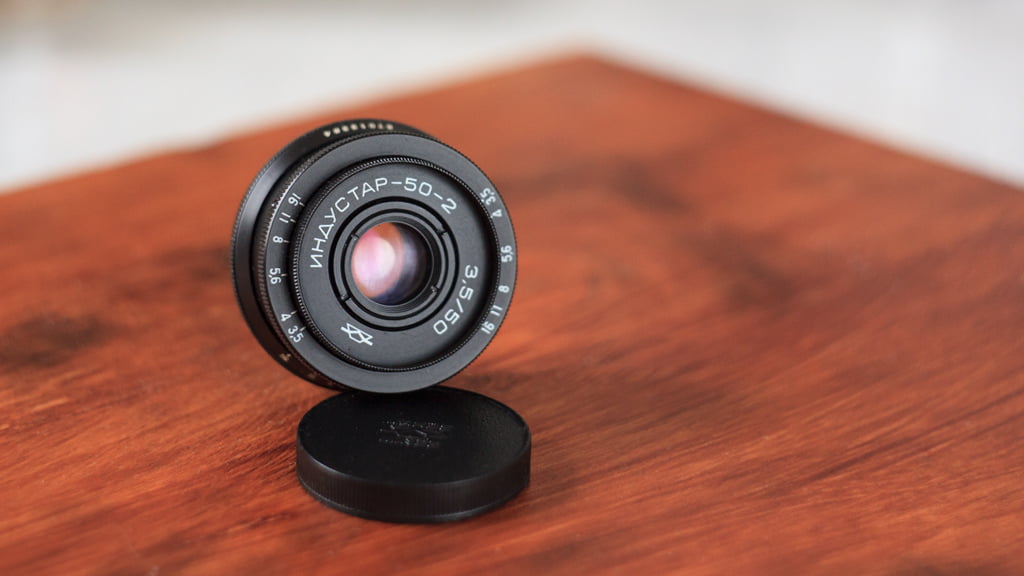
Firstly, talk about equipment. You need not expensive and complicated stuff.
Standart set:
- smartphone or camera
- tripod (I use Rekam MaxiPod)
- window (I have western-facing window)
- table (near the window)
- white and black foam board (or light reflectors which I prefer)
Before taking a photograph
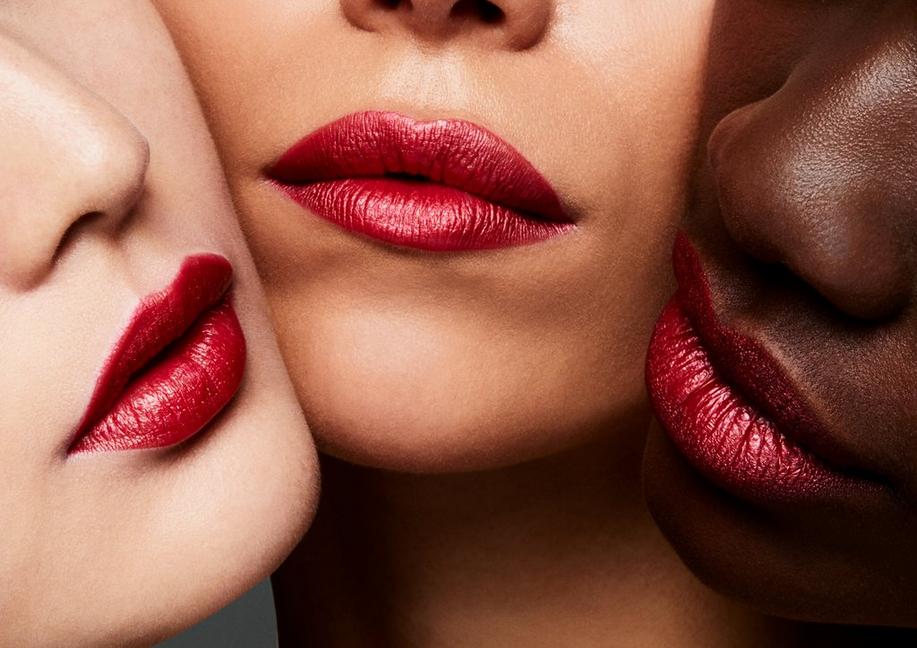
Before taking a photo, you should think: for what purpose do you shoot this picture? Do you understand who are your customers? What do they love, what values they share? This is all about Branding. There is a big difference to take a photo for a 15 years old girl or 40 years old businessman.
Light in product photography
Light in photography is very important. You need high CRI for product photography to show colors correctly.
The best light source is the daylight! And it is absolutely free! All you need is daylight, a product and your camera.
Please, use tripod. It is very useful thing when you need slow shutter. And yes, you will often use slow shutter. To understand how to work with light, read my Guide to light.
White Balance
So, let’s start. You can use Auto, most DSLR cameras have a fully automatic mode. Use P mode as a beginner, this is a program mode, but with this you can change aperture and speed shutter. Don’t you khow what is aperture? Read Guide to light.
But if you want to adjust White Balance from AWB (auto) to Custom, so you need a Gray card. Gray card gives accurate colors. But if you want the best color interpretation, you can use Color checker. Instead of Gray card you can use white paper (frankly, I do not recomend). For understanding exposition, use Histogram and do not trust your eyes. If your camera supports RAW mode, so use RAW.

Composition
As a beginner, do not try to build a complicated composition. Start with minimalism. There are 2 ways exist: symmetry or asymmetry. You can choose symmetry, or asymmetry with using Rule of third.
The product should contrast from background. Do different pictures: show a texture of the product, it’s size, show how customer can use your product. The object must be sharp. In case you take a photograph of a set of objects, group them together. It is better when you have the odd number of objects (1, 3, 5).
You can use monochrome color scheme (BW + one color), analog (three colors next to each other), or contrast scheme (red and green, for example). For this purpose you can use Color wheel.

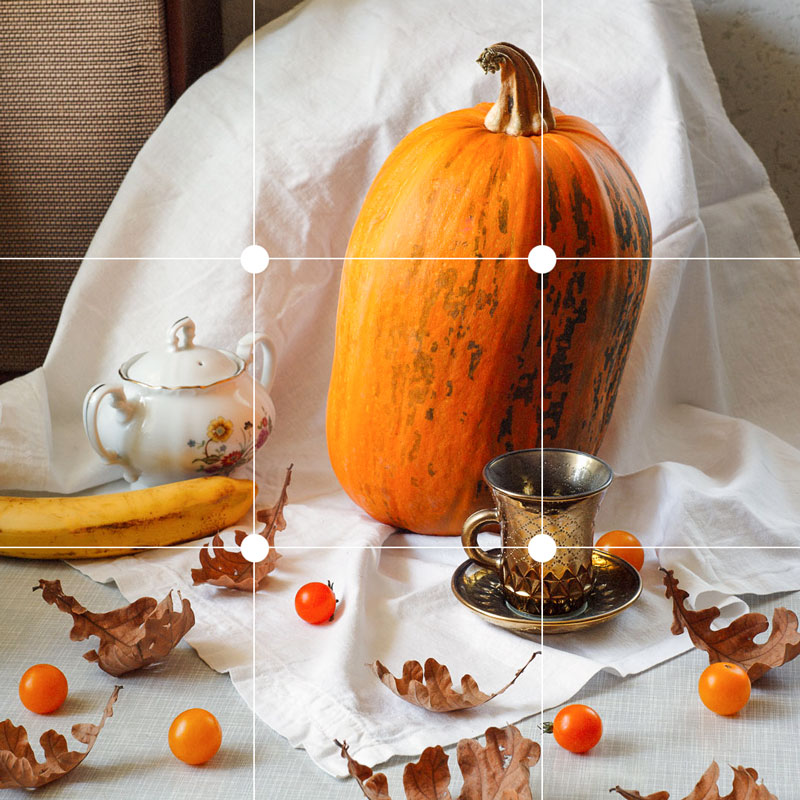
Rule of third
Editing & Retouching
I use Photoshop and Lightroom for editing and retouching. But you can choose any app for your smartphone.
Firstly, deal with exposure and clipping areas: reduce Over in highlights and shadows, change white balance if it is needs. Secondly, retouch a photo: use a Healing brush tool (or similar tool) to fix problems like dust or spots.
In case you want high-end result, you should hire a retoucher.
Uploading on the Internet
When you finished editing and retouching your product photograph, choose “Save for Web”, convert to sRGB and choose size (for Instagram it is 1080×1080 or 1080×1350). In any case use 72 dpi for Web and compress photos for websites.
In case you have quality problems with Instagram, read the article HIGH QUALITY PHOTOS ON INSTAGRAM .
Well, let’s practice! This guide for anyone who wants to be good in eCommerce Product Photography. Using this approach, you will be able to take awesome product photographs!